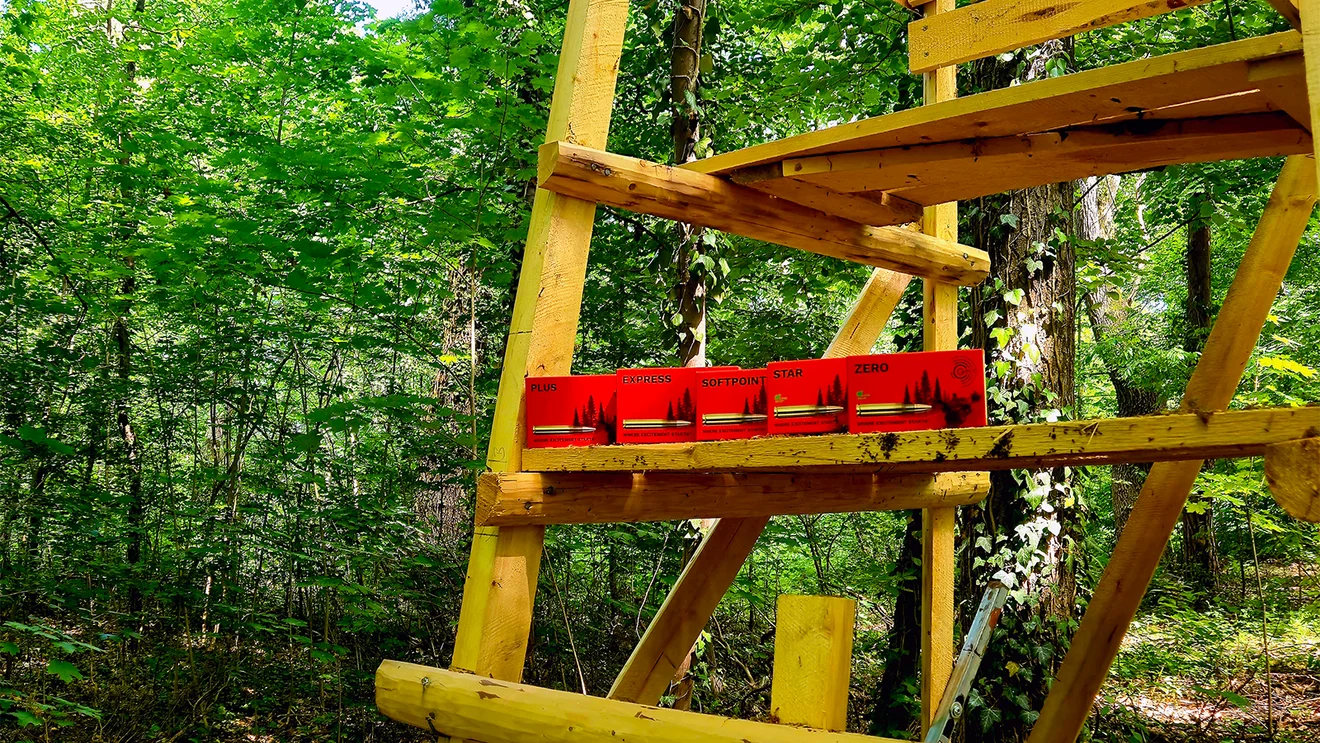
YOUNG HUNTERS GUIDE #5

#YOUNGHUNTERSGUIDE
The Path to Your Own Driven Hunt Stand – Step by Step
#YOUNGHUNTERSGUIDE – Episode 5
A successful hunt begins long before the first shot is fired. At the heart of the fifth episode of the GECO #YOUNGHUNTERSGUIDE is a topic that many young hunters often overlook: wildlife management – specifically in the form of building your own driven hunt stand.
Together with experienced hunter and craftsman Markus, Anne and Chris demonstrate how to build such a hunting structure step by step – sustainably, safely, and with a wealth of practical expertise.
Why Wildlife Management Is More Than a Duty
This episode clearly shows: those who actively engage in wildlife management gain a deeper understanding of their hunting ground, develop an instinct for animal trails and strategic locations – and thus lay the foundation for responsible and successful hunting experiences. A self-built driven hunt stand is not only useful for wildlife observation or group hunts but also reflects a thoughtful, hands-on hunting ethic.
The Path to Your Own Driven Hunt Stand – Step by Step
1. Choosing Materials: Sustainable and Well Thought Out
The build uses spruce wood sourced from the hunters’ own grounds – regional, affordable, and environmentally conscious. For those prioritizing precision, planed timber is a viable (though more expensive) alternative. Tools and a construction plan are prepared in advance to keep the build efficient and stress-free.
2. Safety First
Before starting any cutting or assembly, safety is paramount. Markus emphasizes the importance of wearing protective gear and refers to the official accident prevention regulations published by the trade association. A dedicated brochure provides all the essential guidance for a safe build.
3. Constructing the Ladder
The first step: assembling the ladder. The rungs are nailed into place, and diagonal measurements are taken to ensure symmetry. Additional safety nails and cross-braces are added for enhanced stability. Grooves are avoided to prevent water accumulation and subsequent wood rot.
4. Rear Wall and Bracing
With the help of temporary boards and clamps, the rear wall can be aligned precisely. The front and rear sections are connected using cross and diagonal braces – alternatively, cable ties are presented as a creative solution.
5. Floor, Seat, and Shooting Rest
The floorboards are mounted with spacing between them to allow for water drainage and reduce noise. The seat board is positioned around 45 cm high but not fixed, allowing it to be flipped up during rain. The shooting rest is installed at a height of roughly 97 cm. The backrest completes the project.
Transport & Setup in the Hunting Area
Once completed, the stand is securely loaded onto a trailer – with all loose parts properly stowed. At the hunting location, the stand is set up on stone bases to protect the wood from ground moisture. Ground anchors are used to ensure stability, even in strong winds.
From Basic to Premium – Easy Upgrades
Those looking to enhance their stand have several flexible options:
Increase height with longer legs
Add a roof for better protection
Fully enclose the stand for use as a hunting blind
Conclusion: Wildlife Management as a Core of Ethical Hunting
This episode makes one thing clear: hunting doesn’t start the morning you head out for the stand. Hunters who commit to wildlife management with dedication and knowledge not only ensure safe and efficient hunting setups but also embody hunting ethics from the very beginning.
From young hunters, for young hunters – with GECO, passion begins where responsibility matters most.


